I’m making an R2D2 animatronic model. Or, at least I’m trying to. This is the first project like this I’ve tried, so we’ll just see how it goes. But basically the idea is to have a little desktop-sized R2D2 who’s gonna look around and blink lights and make sounds and stuff like that. So this will be a record of the process of doing that, and serve for me as documentation on the whole thing, and might even help someone else to do it themselves.
First thing I needed was a model of R2D2 that I could 3D print. I’m far from an expert in 3D modelling like that, so I knew I wasn’t going to be able to do that myself. I ended up finding this model by user Niles Rothe on Prinatbles, which seems to be a reupload of this model on Youmagine by user Somerwill.

The model is nice because it’s designed for printing, so it’s split up into parts and it’s pretty easy to put together with some basic hardware once printed. I scaled it down so that it will fit on a desk, the whole thing will probably be around 30cm tall, maybe a little less.
I’ve had a 3D printer of one sort or another for around 3 years now, and I’ve printed off a lot of random stuff, so I think I’m pretty knowledgable in that respect. I got the pieces printed off on my Bambu P1S in around a day, using standard speed and putting pieces on when I noticed the other ones were finished. That gave me about 16 pieces in total.
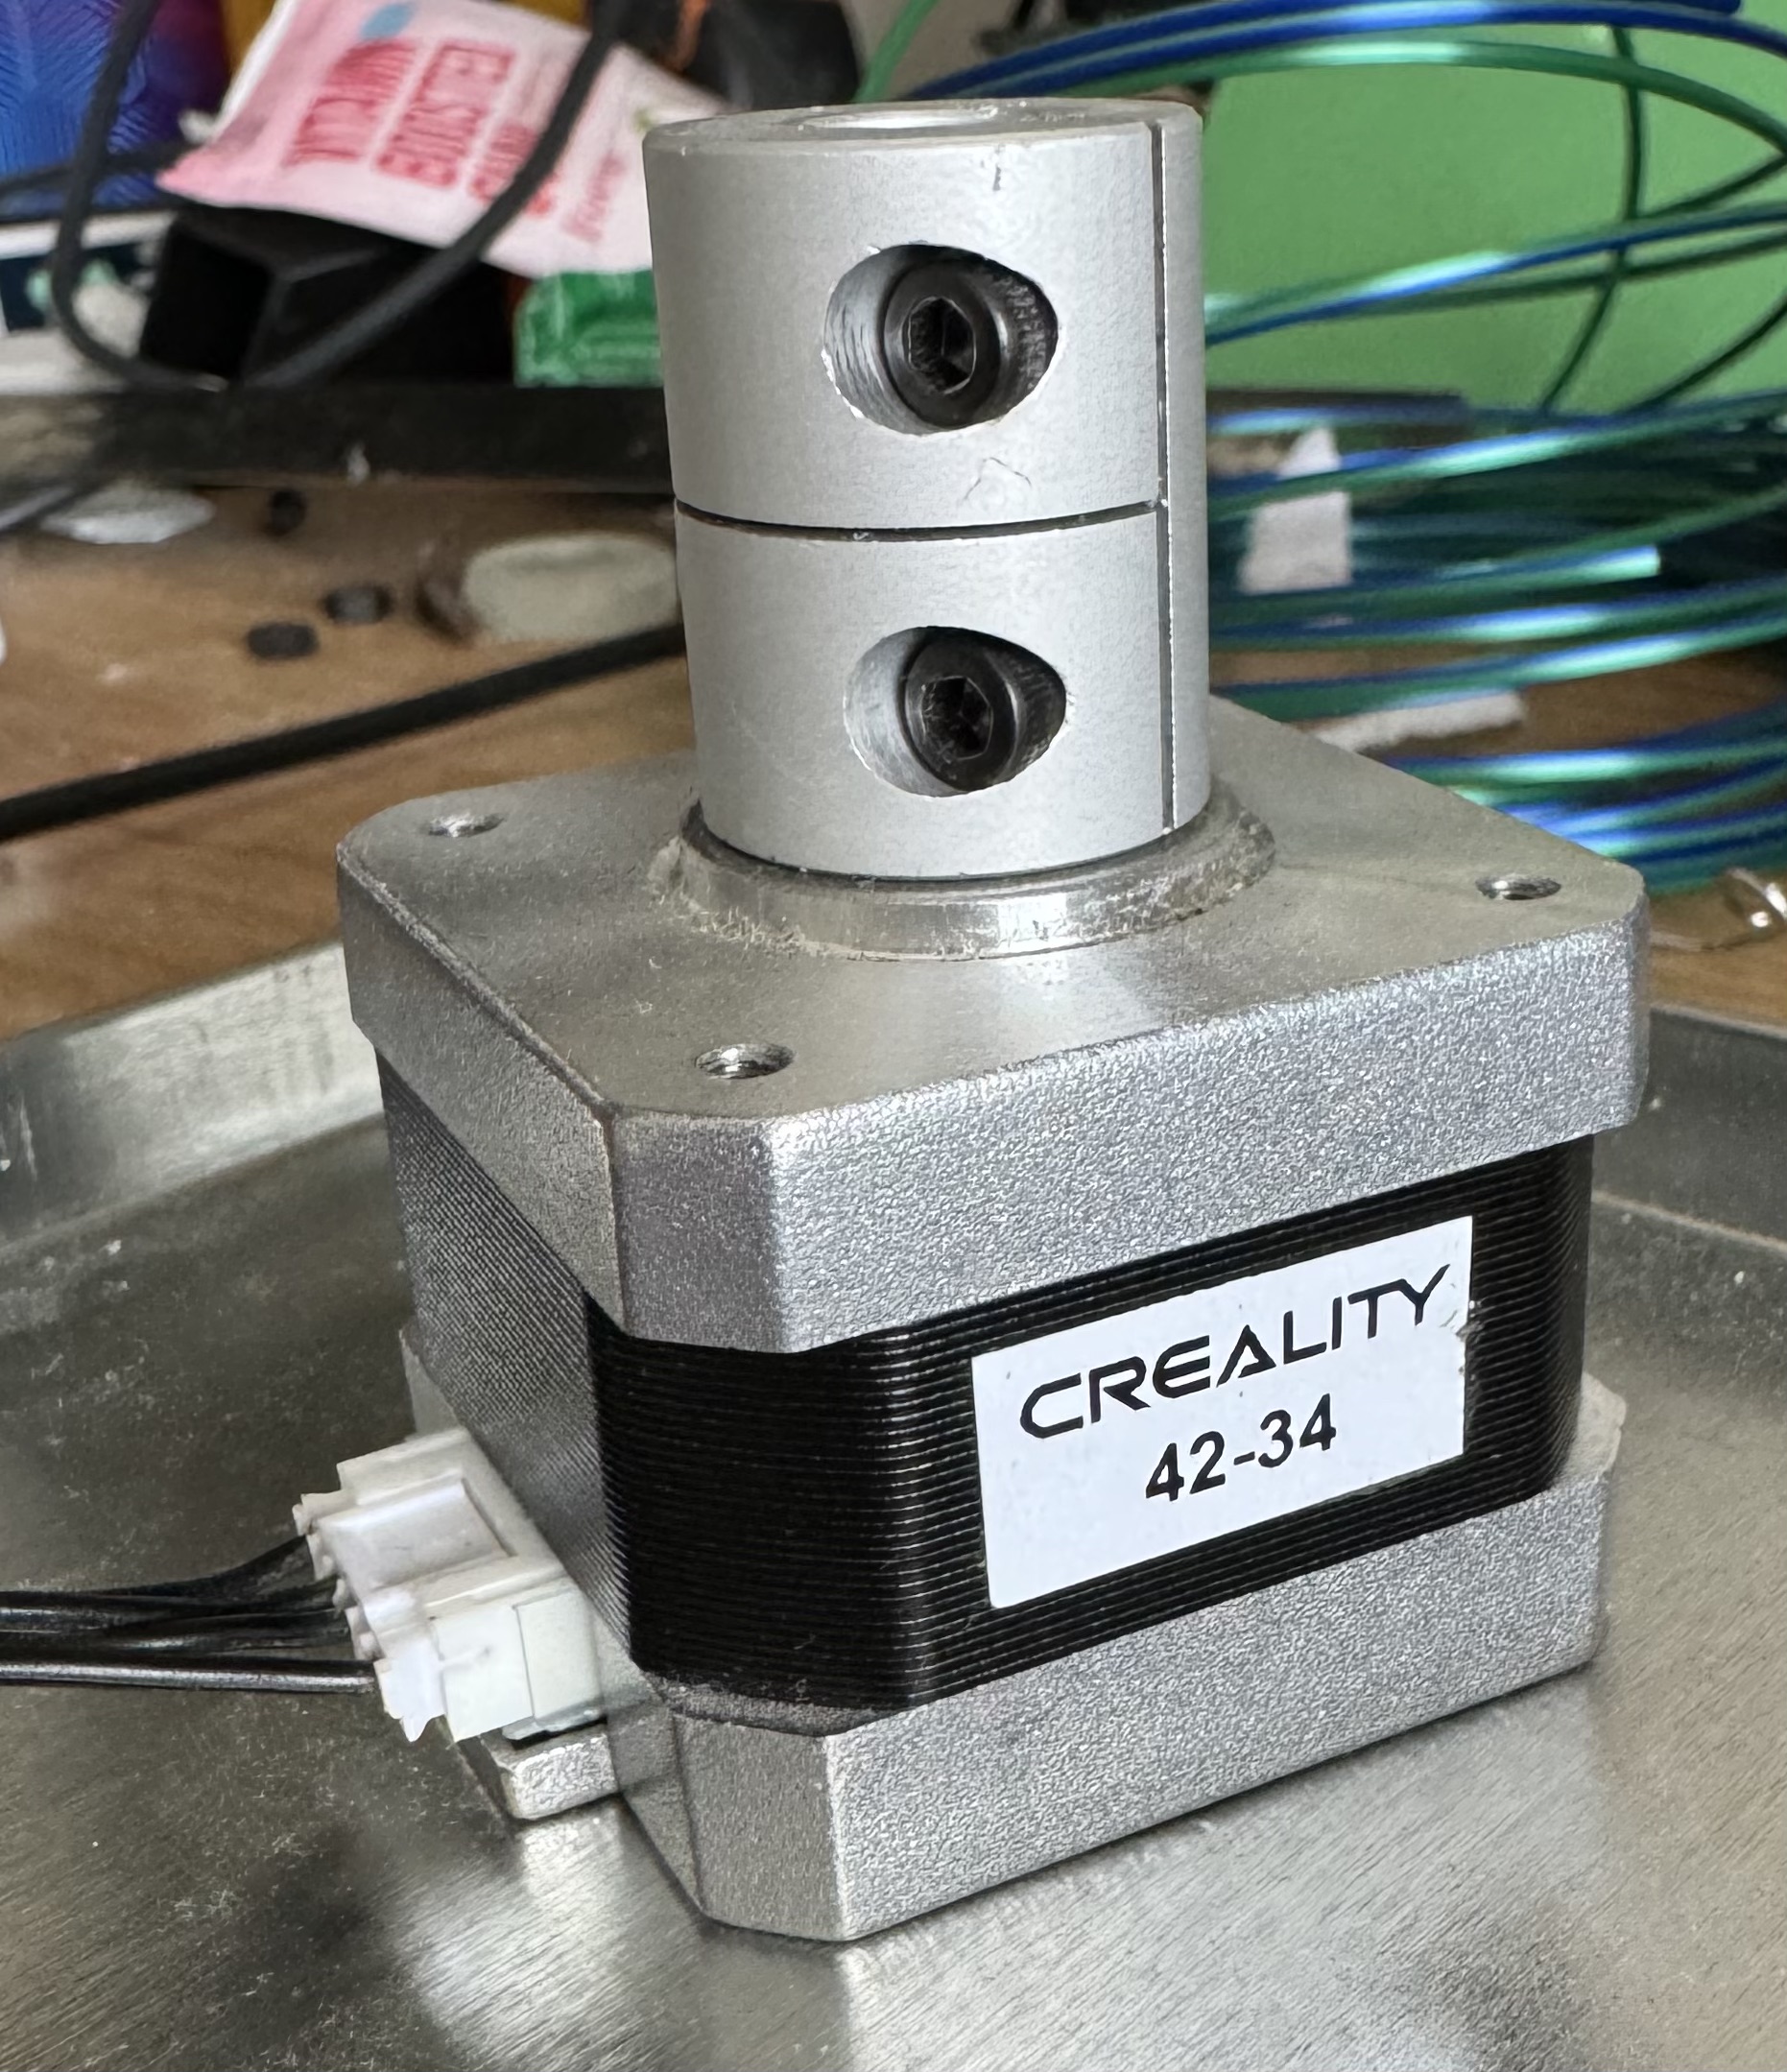
The next thing I did was start looking at how to make the head turn. I figured that was probably the most important part of the whole thing, so it made sense to start there. Parts wise, I was starting from a pretty blank slate. The only stuff I really had on hand that might be useful were the Creality stepper motors from my old Ender 5 Pro. I’d already cannibalised that when I got the P1S, and turned the heated bed into a resin print frying station, so I still had those motors lying around.
I did some research to see what kind of motor drivers I’d need, and settled on some ULN2003 drivers and ordered them on Amazon, along with an Elegoo Mega R3 microcontroller (a bit overkill, I know, but it actually ended up being a lot cheaper than some more appropriate boards) and some jumper wires for easy prototyping.
Once everything arrived, I wired it all up, and wrote a short test program in the Arduino IDE to test that the motor worked as expected and….. it didn’t. Not even a little bit. A bit of research and, unbelievably, conferring with ChatGPT I realised I needed an A4988 driver, not a ULN2003. A silly mistake, but I feel an easy one to make, especially if it’s your first time. I was surprised by how little information was actually out there about the Creality stepper motors. I did end up finding a full data sheet that I was able to give to ChatGPT to help explain some of it to me, but hopefully this post will help someone else out when trying to reuse some old parts.
After I actually got the correct drivers, and wired everything up again, I got a stepper motor that would now step! Success! It just took a little bit more time to come up with something that actually looked like R2D2 looking around the room.
I’ll do a more detailed write up on the wiring and code and stuff for this stage of the project soon, but I’ll leave you with a little preview and a full list of hardware used
This list will be updated with everything that has been used in the entire project. It is up to date as of the release of post # 2
- 3D Printer
- A whole bunch of filament
- A computer to program the microcontroller and 3D printer
- Motor (I’m using the Creality steppers that were used on my Ender 5 pro)
- Motor driver (A4988 for this stepper motor. Amazon link)
- Wires (I recommend some jumper cables for easy setup and prototyping. Something like this)
- DC Power supply (for Arduino and for motor. I’m using this supply and it’s DC barrel jack to screw terminal adapter)
- Microcontroller (I’m using this Elegoo board mentioned above, but there’s a whole bunch of options out there)
- Soldering equipment (iron, cleaning station, solder, etc)
- LEDs (I’m using some random blue ones from Adafruit I had lying around)
- Resistors (For the LEDs. Big boxes like this are very cheap and have a lot of options)